Installation Manual
Installation Manual
Installing your SoftPura shower filter is quick and easy — no tools required. Follow the steps below.
What's in the Box
- 1 × SoftPura shower filter body
- 1 × Filter cartridge (pre-installed)
- 2 × PTFE thread seal tape strips
- 1 × Quick-start guide
Step-by-Step Installation
- Turn off the water — shut off the water supply or simply turn your shower off.
- Remove your existing shower head — unscrew it from the wall pipe (turn anti-clockwise). Use a cloth to protect the finish if needed.
- Apply thread tape — wrap the PTFE tape (included) 2–3 times around the threads of the wall pipe to ensure a watertight seal.
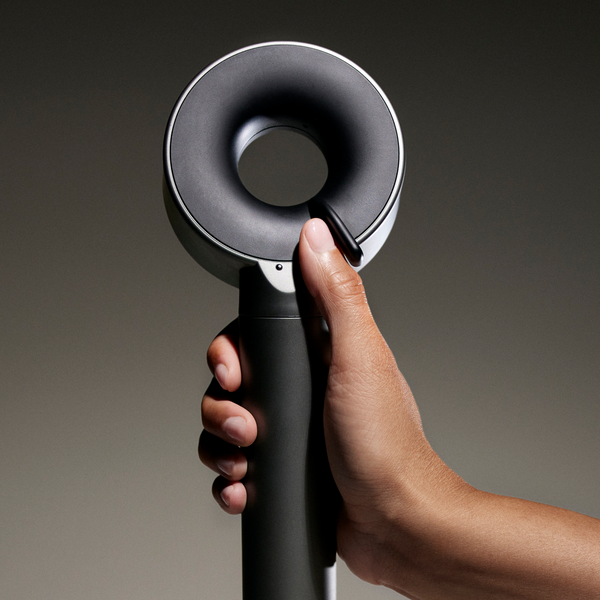
- Attach the SoftPura filter — screw the filter body onto the wall pipe (turn clockwise until hand-tight). Do not over-tighten.
- Reattach your shower head — screw your existing shower head onto the top of the SoftPura filter.
- Test for leaks — turn the water on and check both connection points. Tighten slightly if needed.
Filter Replacement
Replace the filter cartridge every 3–4 months (or sooner in hard water areas). To replace:
- Unscrew the filter body from the wall pipe.
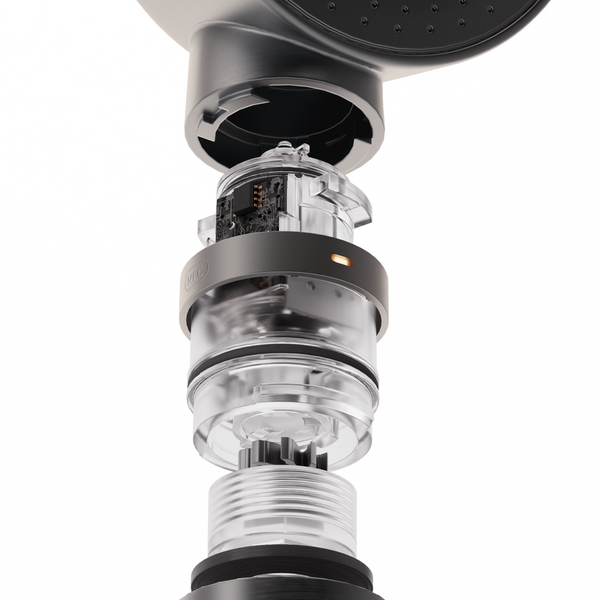
- Open the filter housing by twisting the lower section anti-clockwise.
- Remove the old cartridge and insert the new one.
- Reassemble and reinstall.
Compatibility
SoftPura uses a standard G1/2 inch (½" BSP) thread — compatible with the vast majority of showers in the UK, EU, and worldwide.
Need Help?
Contact our support team at hello@softpura.com and we'll be happy to assist.